Making coffee in a percolator is a classic technique that’s both simple and capable of producing a deeply flavorful brew. Unlike modern automatic coffee makers, a percolator allows you to closely engage with the brewing process, giving you a sense of satisfaction that only comes from a hands-on approach.
Key Takeaways
- Filtered Water: Start with filtered water to ensure a clean taste. Impurities in water can alter the flavor of your coffee, so this step is crucial.
- Right Grind Size: Use coarsely ground coffee. A fine grind can seep through the basket and make your coffee muddy. A coarse grind ensures a clear, robust flavor.
- Brewing Process: Keep an eye on the brewing process. Percolators require your attention to prevent over-extraction, which can result in a bitter taste.
- Water Temperature and Beans: The quality of your beans and the water temperature are vital. High-quality beans and the right temperature can significantly enhance the flavor.
- Post-Brewing: Let your coffee rest a bit after brewing. This allows the grounds to settle and the flavors to meld, giving you a smoother cup.
Preparing Your Percolator and Ingredients
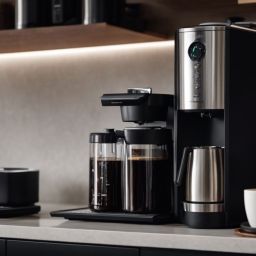
Before you dive into the brewing process, getting your percolator and ingredients ready is essential. This preparation sets the foundation for a perfect cup of coffee.
Choose the Right Water: Your coffee is mostly water, so the quality you use is crucial. Filtered water is your best bet to avoid any impurities that could affect the coffee’s taste. Tap water’s chlorine or mineral content can interfere with the flavor, so filtered water is a safer choice.
Select Quality Coffee Beans: The beans are the heart of your coffee. Opt for high-quality, freshly roasted beans. The flavor profile is up to you, whether you prefer a light, medium, or dark roast. Freshness is key, so look for beans roasted within the past month.
Grind Size Matters: For percolator coffee, the grind size should be coarse, resembling sea salt. A finer grind could slip through the percolator’s filter, leading to a gritty cup. If you’re grinding at home, aim for consistency in your grind to ensure even extraction.
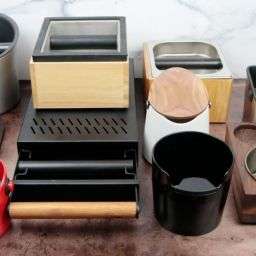
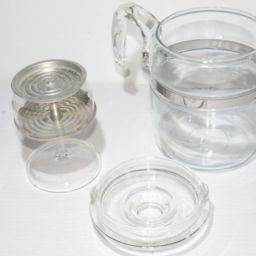
Preparing the Percolator: Ensure your percolator is clean, as any residual oils or grounds from previous brews can taint your coffee’s flavor. Assemble your percolator, ensuring all parts are securely fastened. If you’re using a paper filter, give it a quick rinse with hot water to remove any paper taste.
Measuring Your Coffee: The coffee-to-water ratio is crucial. A general guideline is about one tablespoon of coffee for every cup (8 oz) of water, but feel free to adjust based on your taste preferences.
Brewing the Perfect Cup
The journey to brewing the perfect cup of coffee in a percolator is an art and science combined. Follow these detailed steps to elevate your coffee experience.
Step 1: Preheat Your Water
Starting with slightly preheated water can speed up the brewing process. However, ensure it’s not too hot to avoid burning the coffee right from the start. Warm, not boiling, is the way to go.
Step 2: Add Water to the Percolator
Fill the percolator’s bottom chamber with your preheated water. If your percolator has a maximum fill line, make sure not to exceed it to prevent any brewing mishaps.
Step 3: Add Coffee Grounds
Place your coarse coffee grounds in the percolator basket. The rule of thumb is about one tablespoon per cup of water, but adjust according to your taste preferences. Ensure the grounds are evenly spread to facilitate uniform extraction.
Step 4: Assemble and Heat
With the water and coffee in place, assemble your percolator. Place it on your heat source and adjust the heat to medium. If you’re using a stovetop percolator, watch for it to start percolating. You’ll hear the distinct perking sound and see the coffee bubbling up if it has a glass knob.
Step 5: Monitor the Brew
This is where you play barista. Keep an eye on the percolation. You’re aiming for a perking rate of about one perk per second. If it’s too fast, lower the heat; if too slow, increase it slightly.
Step 6: Timing is Key
The brewing time can vary between 7 to 10 minutes, depending on your taste preference. The longer you brew, the stronger the coffee. However, beware of over-brewing, as it can lead to bitterness.
Step 7: Observe the Color
The color of the coffee can be a good indicator of readiness. Look for a rich, deep hue. If your percolator has a clear knob, use it to gauge the coffee’s progress.
Step 8: Remove from Heat
Once you’ve hit the desired brewing time, remove the percolator from the heat source. Let it sit for a moment to allow the grounds to settle.
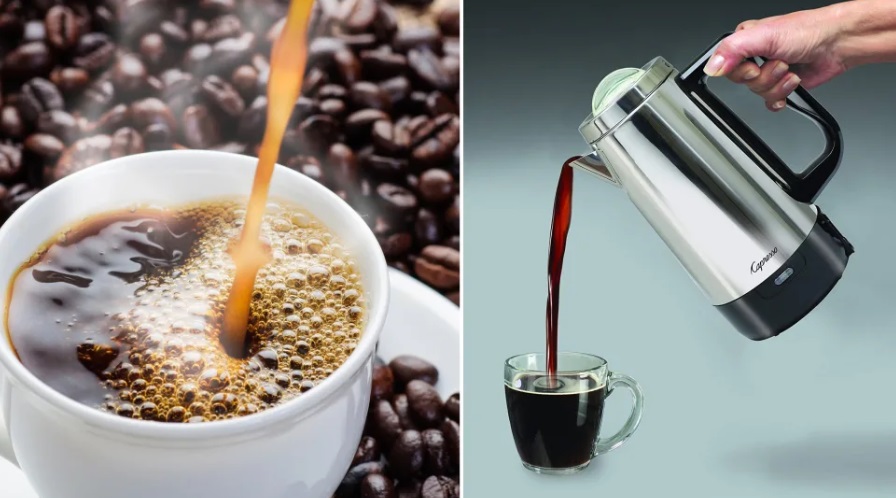
Step 9: Serve and Enjoy
Carefully pour your freshly brewed coffee into your favorite cup. If you’re concerned about grounds, pour slowly or use a small strainer.
Serving Your Percolator Coffee
Serving percolator coffee is about embracing the ritual and enhancing the experience. Pour your freshly brewed coffee into a pre-warmed cup to maintain its temperature. If you enjoy milk or cream, consider frothing it slightly to add a luxurious texture. Sweeteners, if used, should complement, not overpower, the coffee’s inherent flavors. For a special touch, sprinkle a dash of cinnamon or cocoa on top. Remember, the right presentation can elevate your coffee moment from routine to ritual.
Troubleshooting and Common Pitfalls
Even with careful preparation, you might encounter issues. If your coffee tastes too bitter, you might be over-extracting. Reduce the brew time or lower the heat. Conversely, weak coffee might need a longer brewing time or a finer grind. If you find grounds in your cup, ensure the basket is properly aligned and the grind isn’t too fine. Addressing these common pitfalls ensures a consistently enjoyable cup of percolator coffee.
Cleaning and Maintaining Your Percolator
Regular cleaning is essential for the longevity of your percolator and the taste of your coffee. After each use, disassemble and rinse all parts with warm water. Avoid harsh detergents that can leave a residue. Occasionally, descale with a vinegar-water solution to remove buildup. Ensure all components are dry before reassembling to prevent rust or mold. Proper maintenance keeps your percolator ready for the next perfect brew.
FAQs
Why is my percolator coffee bitter?
Bitterness often results from over-extraction. Try reducing the brewing time or adjusting the heat.
Can I use fine ground coffee in a percolator?
It’s best to use coarse ground coffee to prevent grounds from seeping through the basket and to ensure optimal extraction.
How long should I brew coffee in a percolator?
The ideal brewing time is typically between 7 to 10 minutes, but this can vary based on your taste preference.
Is it necessary to pre-wet the coffee grounds?
While not essential, pre-wetting can help ensure a more even extraction and a smoother flavor profile.
Final Thoughts
Percolator coffee brewing is more than just a method; it’s a ritual that harks back to a simpler time. The process allows you to connect with every step, from grinding the beans to savoring the final sip. Remember, the key to perfect percolator coffee lies in attention to detail—selecting quality ingredients, monitoring the brew, and adjusting to your taste. While it may require a bit more attention than modern machines, the robust and richly flavored cup of coffee it produces is well worth the effort.