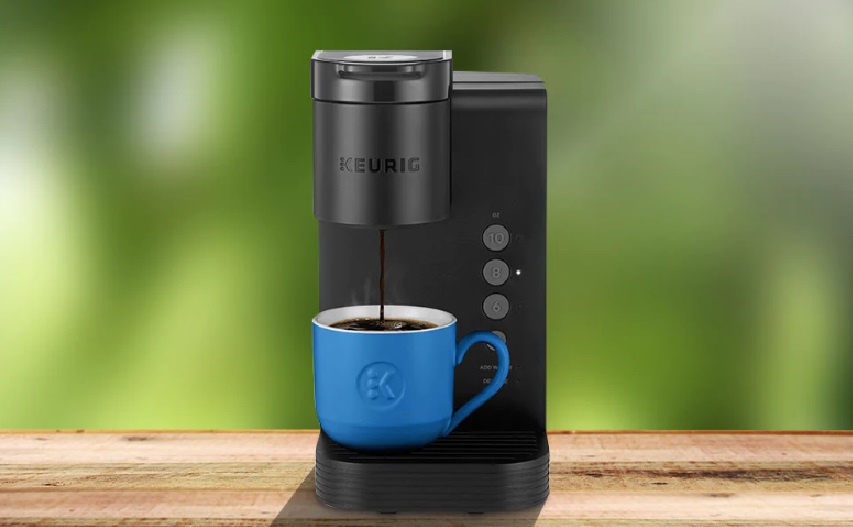
Experiencing issues with your Keurig Single Serve Coffee Maker can be frustrating, especially when you’re craving that quick coffee fix. Common problems include the machine not turning on, failing to dispense water, or producing less-than-satisfactory coffee.
Understanding how to troubleshoot these issues effectively not only saves you a trip to the repair shop but also extends the lifespan of your coffee maker. Learning to fix these problems yourself can be empowering and can ensure your coffee routine runs smoothly without unnecessary interruptions.
Key Takeaways for Keurig Troubleshooting
- Heating Issues: Sometimes, the water doesn’t heat up enough to brew properly.
- Pumping Problems: There are occasions when the machine won’t pump water, affecting its ability to brew.
- Taste Concerns: A common complaint is coffee that doesn’t taste right, which might be due to several factors.
Power Issues: Keurig Won’t Turn On or Shuts Off
If your Keurig isn’t powering on or it shuts off unexpectedly, start by checking the basics. Ensure that the coffee maker is plugged into a working outlet and that the plug is secure. Sometimes, the solution is as simple as trying a different outlet to rule out any issues with your power source.
Resetting Your Keurig
If the power checks out, a reset might be needed. To reset your Keurig:
- Turn off the machine and unplug it from the outlet.
- Wait for a few minutes before plugging it back in.
- Turn on the Keurig and attempt a brew cycle.
This can often resolve any temporary glitches in the system and get your machine back to brewing your favorite coffee.
Water Pump Issues: Keurig Not Pumping Water
When your Keurig isn’t pumping water, it could turn your morning brew into a morning blue. Let’s troubleshoot:
- Check the Water Reservoir: First, ensure the reservoir is properly seated and filled. Sometimes, it’s just a matter of repositioning it correctly.
- Remove Air Bubbles: Air bubbles can block water flow, making it seem like the pump isn’t working. To clear them:
- Remove the water reservoir.
- Give it a gentle shake.
- Replace it and try running a brew cycle.
These steps often help the water flow smoothly again, ensuring your coffee brews without interruption.
Descale Problems: Keurig Not Brewing after Descaling
Descaling is crucial but can sometimes lead to issues if not done correctly:
- Use the Correct Solution: Always use a descaling solution recommended by Keurig or a safe homemade alternative like diluted white vinegar.
- Follow Proper Procedures: Ensure you follow the steps outlined in your Keurig manual—missing steps can hinder the effectiveness of the descaling.
If Issues Persist:
- If the descale light remains on, or performance doesn’t improve, restart the descaling process to ensure all mineral build-ups are removed. Sometimes a second cycle is necessary for optimal results.
Coffee Quality Issues: Poor Taste and Inconsistency
Nothing ruins a morning like bad-tasting coffee. Here’s how to fix it:
- Clean and Replace the Needle: The needle that pierces your coffee pods can clog with debris. Cleaning it regularly ensures that water flows freely, extracting maximum flavor.
- Use a paper clip to clear out coffee grounds that might be blocking the needle.
- Choose Quality Water and Coffee Pods: The quality of water and coffee pods significantly affects taste. Use filtered water and high-quality coffee pods tailored to your taste preference.
Keurig Leaks and Overflows
Leaks and overflows can dampen your coffee-making experience. Here’s how to troubleshoot:
Identifying and Fixing Leaks:
- Check the Water Reservoir: Ensure it’s not cracked and is seated properly. Sometimes, a misaligned reservoir causes leaks.
- Inspect Seals and Gaskets: Over time, seals or gaskets around the reservoir can wear out. Check for any damage and replace if necessary.
Handling Overflow Issues:
- Adjust the Brew Size: Make sure you’re using the appropriate setting for your cup size to prevent overflow.
- Clean the Exit Needle: Coffee grounds can block the exit needle, causing overflows during brewing. Use a paper clip to gently clear out any debris.
Error Messages and Lights
Keurig machines communicate through lights and error messages:
- Prime Error: Usually means the machine needs to be primed; ensure the water reservoir is filled and properly seated.
- Add Water: This light comes on if the reservoir is empty or not detected. Refill and ensure it’s correctly positioned.
Troubleshooting Lights:
- Blinking Lights: Often indicate specific issues like heating problems or need for descaling. Refer to your Keurig’s manual for specific blinking patterns and solutions.
Regular Maintenance and Cleaning
Keeping your Keurig clean is key to its performance and longevity:
Daily and Weekly Maintenance:
- Rinse the Reservoir: Regularly rinse out the water reservoir to prevent buildup and remove any old water.
- Wipe Down Surfaces: Use a damp cloth to wipe the machine’s exterior and the area around the pod holder.
Descaling Schedule:
- Descaling: Perform descaling every 3-6 months with Keurig’s descaling solution or a white vinegar mixture to remove mineral buildup.
- Needle Cleaning: Regularly clean the needles using the maintenance accessory or a paper clip to ensure optimal brew flow and prevent clogging.
FAQs
Why won’t my Keurig brew?
First, ensure your Keurig is plugged in and the power is on. Check if the water reservoir is seated properly and filled. If the machine has been sitting idle for a while, run a water-only cycle to clear any potential blockages.
How often should I descale my Keurig?
Descaling frequency depends on your usage and water quality. Generally, it’s recommended to descale every 3-6 months to prevent mineral buildup that can affect the machine’s performance.
What should I do if my coffee tastes bad?
Make sure you’re using fresh, filtered water and quality coffee pods. Clean and descale your Keurig regularly. If the taste persists, consider running several water-only brew cycles to flush out any old coffee residue.
What to check first when the machine stops working?
Verify that the machine is powered. Check for any error messages or lights that might indicate specific issues. Ensure the water reservoir is filled and properly aligned. Lastly, clean the exit needle to clear any clogs.
Final Thoughts
Throughout this guide, we’ve tackled the most common issues faced by Keurig users, from power failures and water pump issues to the importance of regular maintenance. Remember, consistent care and timely troubleshooting can significantly extend the life of your Keurig, ensuring many mornings of perfect coffee. Regular descaling and cleaning are not just recommended; they are essential for optimal performance.