The concept of using whole coffee beans in a percolator introduces a fascinating discussion in the coffee brewing world. Traditionally, coffee beans are ground to a specific coarseness before being brewed, but the idea of using whole beans directly poses intriguing questions about flavor extraction and brewing efficiency.
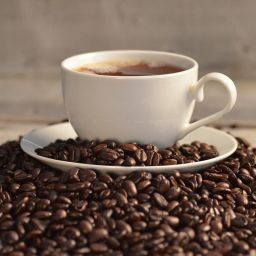
The percolation process, central to this discussion, involves passing hot water through coffee grounds to extract flavors, resulting in a bold and robust cup of coffee. This method, distinct in its brewing technique, offers a unique approach to coffee preparation.
Understanding Percolators
Percolators and other coffee makers like drip machines and French presses differ significantly in their brewing processes. A percolator circulates boiling water through coffee grounds multiple times, creating a strong and often more robust flavor. This contrasts with drip coffee makers, which pass water through the grounds only once, leading to a cleaner and lighter taste.
French presses, on the other hand, steep coffee grounds in hot water for an extended period before pressing the grounds away from the liquid, producing a rich and full-bodied coffee. The basic mechanism of a percolator involves a heat source that boils water in the pot’s bottom.
This boiling water then moves up a tube, disperses over the coffee grounds in a basket, and seeps back down into the pot to repeat the process. This cycle enhances the extraction of coffee flavors, making percolated coffee distinctively strong and hearty.
The Coffee Beans
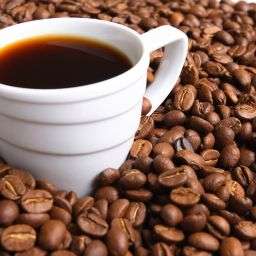
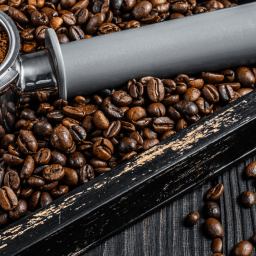
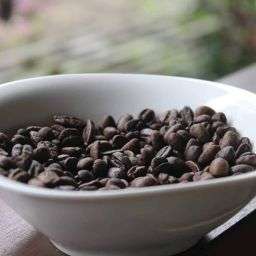
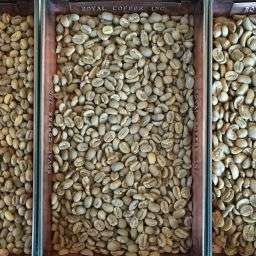
The importance of bean quality and freshness cannot be overstated in brewing the perfect cup of coffee, especially when using a percolator. Fresh, high-quality beans ensure the coffee’s flavor is vibrant and robust, as freshness directly influences the aroma and taste of the brewed coffee. The type of bean also plays a crucial role in the coffee’s final flavor profile.
Arabica beans, known for their smooth, complex flavor profiles, and Robusta beans, recognized for their stronger, more bitter taste, can produce markedly different results when percolated. The method of percolation, with its repeated brewing cycles, can intensify these inherent flavors, making the choice of bean type all the more critical for the desired cup of coffee.
Grinding Beans for Percolators
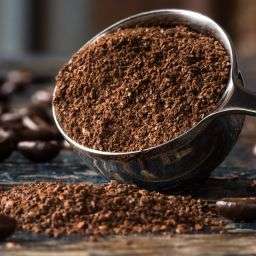
The grind size of coffee beans is paramount for successful percolation. The percolator’s brewing process, which repeatedly cycles hot water through the coffee grounds, necessitates a coarse grind. A grind that is too fine will result in over-extraction, leading to bitter coffee, while too coarse a grind might under-extract, producing a weak flavor. The ideal grind for percolators is coarse, akin to sea salt, ensuring optimal water flow and extraction of coffee flavors.
Achieving the Right Grind Size
To attain the appropriate grind size for a percolator:
- Use a Burr Grinder: This grinder type offers consistent grind sizes, allowing for precise control over the coarseness. Adjust the grinder to the coarse setting specifically designed for percolation.
- Manual Grinding: If precision is crucial, manual grinders provide the user with control over the grinding process, ensuring the beans are not overheated or ground too finely.
Alternatives to Coffee Grinders
In the absence of a coffee grinder, several household appliances can serve as alternatives:
- Blender: Use the pulse feature to grind the beans in short bursts, checking frequently to avoid over-grinding.
- Food Processor: Similar to a blender, use short pulses to achieve a coarse grind. The blades may not provide as uniform a grind as a burr grinder but can suffice in a pinch.
- Mortar and Pestle: For the most manual method, this tool allows for a controlled grind, though it requires more effort and time.
Brewing with a Percolator
Step-by-Step Guide
- Grind the Beans: Ensure the coffee is ground to a coarse consistency.
- Add Water: Fill the percolator’s lower chamber with cold water.
- Add Coffee: Place the ground coffee in the percolator basket. The standard ratio is about 1 tablespoon of coffee per cup of water, but adjust according to taste.
- Heat: Place the percolator over a heat source. Use medium heat to avoid boiling the water too rapidly.
- Percolate: Allow the coffee to percolate until it reaches the desired strength. This usually takes 7-10 minutes.
- Serve: Remove the percolator from the heat, discard the grounds, and serve the coffee immediately for the best flavor.
Adjusting Coffee Strength and Flavor
- Water Temperature: The ideal brewing temperature is just below boiling. Too hot, and the coffee will be over-extracted and bitter; too cool, and it will be under-extracted and weak.
- Brew Time: Longer brew times result in stronger coffee. Start with a 7-minute brew time and adjust according to preference.
- Coffee to Water Ratio: Increase the amount of coffee for a stronger brew or decrease it for a milder flavor. Experimentation is key to finding the perfect balance.
FAQs
Can I use regular ground coffee in a percolator?
Yes, regular ground coffee can be used in a percolator, but it may not yield the best results due to its finer grind, which can pass through the filter and into the brewed coffee. A coarser grind is recommended to avoid over-extraction and sediment.
Do I need special coffee for a percolator?
No, special coffee is not required for a percolator. However, the grind size should be coarser than what is used for drip coffee makers to ensure optimal extraction and flavor.
How much coffee do I use per cup of water?
The standard ratio is about 1 tablespoon of coffee per cup (8 ounces) of water. Adjust this ratio based on personal taste preferences for stronger or milder coffee.
Tips for the Perfect Brew
- Grind Size: Opt for a coarse grind to prevent grounds from slipping through the filter and to ensure even water distribution during brewing.
- Water Temperature: Keep the water temperature just below boiling to avoid over-extraction. Aim for around 200°F (93°C) if possible.
- Cleanliness: Regularly clean your percolator to remove oil and residue buildup, which can affect the taste of your coffee.
Conclusion
Understanding the nuances of percolation, from grind size to water temperature, is key to mastering the art of brewing with a percolator. Experimenting with different beans and grind sizes can lead to discovering your optimal flavor profile. Embrace the process and enjoy the journey towards the perfect cup of coffee.