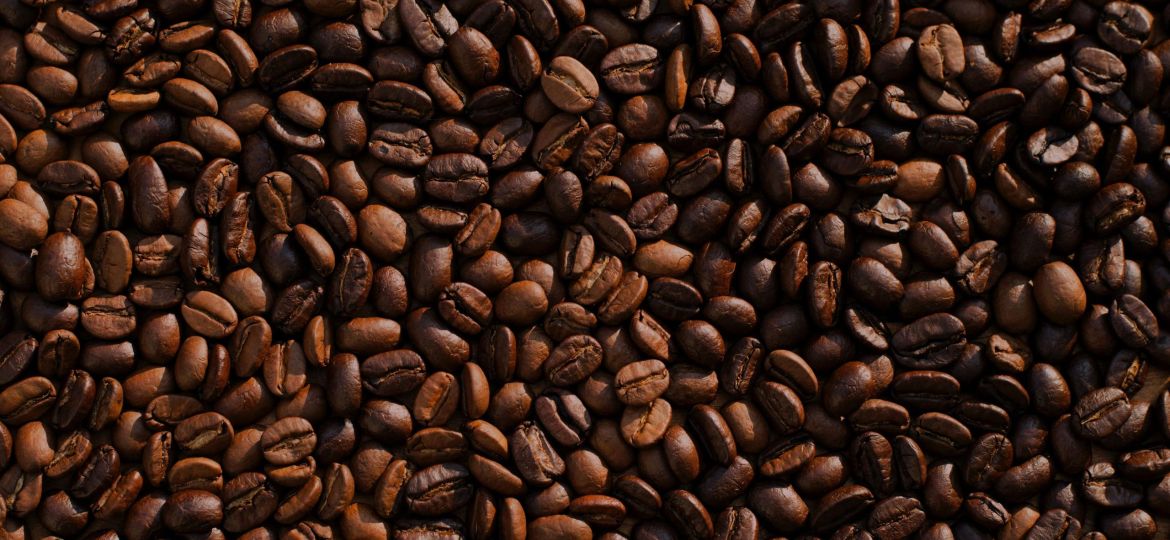
Roasting coffee beans at home is an enriching experience that offers coffee enthusiasts control over the flavor and freshness of their brew. This process not only allows you to explore a variety of coffee flavors but also ensures you enjoy the freshest coffee possible.
Roasting coffee at home involves heating green coffee beans until they brown and develop a desired flavor profile, a transformation guided by heat and time. This article aims to demystify the process, highlighting the joy and benefits of home roasting, understanding coffee beans, their roast profiles, and how to select the right beans for roasting.
Types of Coffee Beans for Roasting
The two primary types of coffee beans available for roasting are Arabica and Robusta. Arabica beans are known for their sweet, soft taste and higher acidity, making them a favorite among home roasters for their quality and flavor complexity. Robusta beans, on the other hand, have a stronger, harsher taste, with a grain-like overtone and nutty aftertaste.
They contain more caffeine and are often considered less desirable for home roasting. For those looking to roast at home, Arabica beans are generally recommended for their superior taste and quality.
Understanding Roast Levels
Roast levels significantly influence the taste and aroma of coffee. They range from light to dark, each offering a distinct flavor profile. Light roasts have a mild flavor, retaining the original taste of the coffee bean, with no oil on the surface of the beans. Medium roasts offer a balanced flavor, aroma, and acidity, making them the most popular roast level.
Dark roasts have a pronounced bitterness, with beans that are shiny due to the oil that surfaces during roasting. The choice of roast level affects the brew’s final taste, with lighter roasts highlighting the bean’s natural flavors and darker roasts emphasizing a bolder, smokier taste.
Selecting Your Beans
Choosing the right beans is crucial for successful home roasting. Consider the origin of the beans, as different regions offer distinct flavor profiles. Look for fresh, high-quality green beans from reputable suppliers.
Beans should be uniform in size and color to ensure an even roast. Experimenting with small batches from various regions can help determine your preference, whether you favor the fruity notes of African beans or the earthy tones of Indonesian coffee.
Choosing Your Roasting Equipment
Selecting the right equipment is a foundational step in home coffee roasting. The most common methods include air poppers, oven roasting, skillet roasting, and dedicated coffee roasters. Each method has its advantages and drawbacks, affecting the ease, consistency, and flavor of your roast.
Air Poppers offer a cost-effective and accessible entry point for beginners. Originally designed for popcorn, they provide an even roast and a clear view of the beans. However, they have limited capacity and offer less control over temperature and roast time.
Oven Roasting utilizes equipment most home kitchens already have. It can accommodate larger batches than air poppers but often results in uneven roasts due to inconsistent heat distribution.
Skillet Roasting is a hands-on method that allows for high control over the roast. Yet, it requires constant attention and stirring to avoid uneven roasting, and mastering this technique can be challenging.
Dedicated Coffee Roasters are designed specifically for coffee roasting, offering precise control over temperature and roast duration. They produce the most consistent results but come at a higher cost and require more space.
Preparation for Roasting
Before beginning your roasting journey, assembling all necessary supplies ensures a smooth process. You will need green coffee beans, your chosen roasting method, a cooling tray or baking sheet, and an airtight container for storing the roasted beans. It’s essential to select high-quality beans to achieve the best flavor profile.
Setting up a safe roasting station is crucial. Ensure adequate ventilation to manage smoke and odors, and maintain a clean, organized workspace to prevent accidents. Heat-resistant gloves and a long-handled spoon or spatula can enhance safety, especially when using methods that involve direct contact with hot equipment.
Preheat your roasting device according to its specific instructions, and have your cooling tray ready to quickly cool the beans post-roast, stopping the cooking process and preserving the desired flavor characteristics.
Step-by-Step Guide to Roasting Coffee Beans
Roasting coffee beans transforms them from green and grassy to rich and aromatic. This process requires attention to detail and timing to achieve the desired roast level. Here’s a detailed guide to help you through the roasting process.
Preheating and Preparation: Begin by preheating your roasting equipment to the manufacturer’s recommended temperature. For most methods, this will be between 350°F (177°C) and 500°F (260°C). Ensure your green beans are measured and ready to roast, and your cooling tray or baking sheet is set aside for immediate use once the beans are done roasting.
Roasting Stages: Coffee roasting progresses through several stages, marked by noticeable changes in bean color and development of aromas.
- From Green to Brown: Initially, beans will turn from green to yellow, then to a light brown, emitting a grassy smell. This stage is crucial for setting the foundation of the roast.
- First Crack: As the beans reach a light to medium brown, they’ll emit a cracking sound, similar to popcorn popping. This is the “first crack,” indicating the beans have expanded and the roasting process is well underway. Light roast levels are often achieved shortly after this stage.
- Second Crack: For those desiring a medium to dark roast, continue roasting until the “second crack,” which is quieter and has a faster pace. Beans will become darker and shinier as oils come to the surface.
Cooling and Resting: Immediately after reaching your desired roast level, transfer the beans to a cooling tray or baking sheet. Spread them out to cool them quickly and stop the roasting process. After cooling, let the beans rest for at least 12 hours. This resting period allows gases to escape and flavors to develop, resulting in a more balanced and enjoyable cup of coffee.
Troubleshooting Common Roasting Issues
Encountering challenges while roasting coffee is common, especially for beginners. Here are some tips for addressing frequent issues:
- Uneven Roasts: Stir beans frequently to promote even heat distribution. If using an oven or skillet, shake the pan or stir with a wooden spoon. In air poppers or dedicated roasters, ensure beans are not overcrowded.
- Under-Roasting: If beans are too light or lack flavor, increase your roast time. Ensure you’re reaching the first crack fully before deciding on the roast level.
- Over-Roasting: To avoid beans that are too dark or bitter, closely monitor the roasting process, especially during the first and second cracks. Learn to recognize the signs that your desired roast level is approaching.
- Smoke Management: Roasting coffee produces smoke, especially at darker roast levels. Ensure your roasting area is well-ventilated. Using a fan or roasting outdoors can help manage smoke effectively.
Storing Your Roasted Coffee Beans
To preserve the freshness of your home-roasted coffee beans, store them in an airtight container away from direct sunlight, moisture, and heat. A cool, dark place like a pantry or cupboard is ideal.
Avoid plastic containers as they can impart unwanted flavors into your coffee. Glass or metal containers with a one-way valve are best, as they allow gases from the beans to escape without letting air in, maintaining the beans’ optimal freshness.
Grinding and Brewing Your Roast
Grinding your coffee just before brewing maximizes its flavor and aroma. The grind size should match your brewing method: fine for espresso, medium for drip coffee, and coarse for French press. Experiment with different grind sizes to find the perfect balance for your taste preference. Water quality and temperature also play crucial roles in brewing.
Use filtered water heated to between 195°F and 205°F for the best extraction. Remember, the fresher the roast, the better the brew, so enjoy your coffee within a month of roasting for the best experience.
FAQs
What equipment do I need to start roasting coffee at home? At minimum, you’ll need green coffee beans and a heat source like a skillet, oven, air popper, or a dedicated coffee roaster.
How long after roasting should I wait before brewing? It’s best to wait at least 12 hours after roasting to allow the beans to degas, but no longer than a month to ensure freshness.
Can I roast coffee beans in an oven or on a stovetop? Yes, both methods are viable for roasting coffee at home, though they may offer less control over the roast compared to dedicated roasters.
How do I know when the coffee beans are roasted to my preference? Listen for the “first crack” and “second crack” sounds. The time between these stages, as well as the bean’s color and aroma, will indicate the roast level.
Conclusion
Roasting your own coffee at home is a rewarding experience that offers unparalleled freshness and flavor customization. By understanding the roasting process, from selecting the right beans to mastering the roasting stages and properly storing your coffee, you can elevate your coffee experience.
Remember, the journey of home coffee roasting is about experimentation and discovery. Embrace the process, refine your technique, and enjoy the delightful journey of crafting your perfect cup of coffee.


