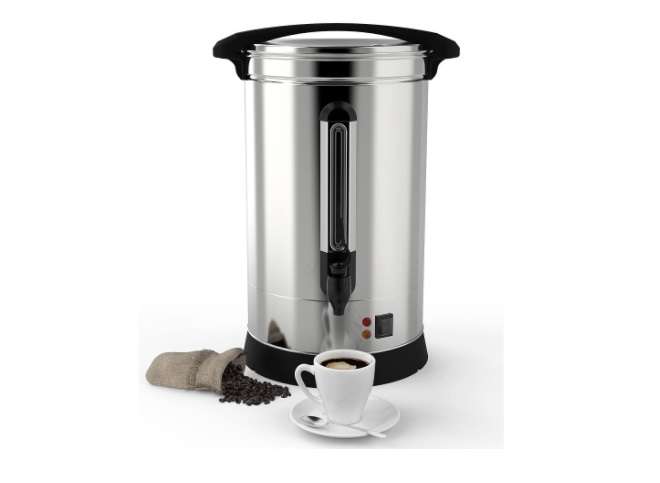
When hosting large gatherings or events, ensuring your guests have access to warm, comforting beverages is crucial. Here’s where mastering the use of a coffee urn becomes invaluable. Coffee urns are designed to serve hot coffee to a crowd efficiently, making them a staple at events where keeping guests caffeinated and happy is essential. This guide will delve into the specifics of how to use a coffee urn effectively, ensuring your next event runs as smoothly as a freshly brewed cup of coffee.
Key Takeaways
- Coffee-to-Water Ratio: Getting this right ensures the perfect strength of your brew. A general guideline is one-third cup of ground coffee for every five cups of brewed coffee, but adjustments might be needed based on your urn’s size and brewing capability.
- Brewing Time: Most urns brew at a rate of 40 seconds to one minute per cup. Planning your brewing start time accordingly prevents a wait line for coffee.
- Cleaning: Proper cleaning and maintenance are essential for the longevity of your coffee urn and the taste of the coffee. This includes regular cleaning after each use and a thorough cleaning with a vinegar-water solution for descaling.
Setting Up the Coffee Urn
Choosing the right spot to set up your coffee urn is the first step toward a successful brew. Select a stable, level surface strong enough to support the weight of a full urn. Before adding anything to the urn, ensure it’s clean and ready for use.
Next, let’s talk about water – the backbone of your coffee brew. Using cold, preferably filtered water can significantly impact the taste of your coffee. Some urns have specific instructions on how to fill them, often involving removing the stem and basket before pouring the water directly into the urn. This is a critical step because it lays the groundwork for a delicious brew.
Choosing the Right Amount of Coffee and Water
Nailing the perfect coffee-to-water ratio is like finding the sweet spot in your favorite song – it just feels right. For large gatherings, this balance is even more crucial because you’re brewing in bulk. A general rule of thumb for coffee urns is to use one-third cup of ground coffee for every five cups of brewed coffee. But, of course, the exact amount might vary depending on your guests’ preferences and the urn’s capacity.
Let’s break it down further: if you’re expecting a crowd of 50, using four cups of coffee grounds is a good estimate. However, keep in mind the maximum capacity of your urn. For instance, if your machine maxes out at 40 cups, you can’t push it beyond that limit regardless of the grounds you add.
Coarse coffee grounds are your best friend here. Most urns are designed to work with coarse grounds, preventing them from slipping through the basket and into your brew. This choice ensures a smooth, clear coffee that’s sure to please everyone.
Brewing Process
Once you’ve got your water and coffee ready, it’s showtime. Start by ensuring your urn is properly assembled, with the basket and stem in place. Then, pour in the water up to the desired level, and add your measured coffee grounds into the basket.
Securing the lid on your urn is the next step. This might seem like a small detail, but it’s crucial for safety and brewing efficiency. With everything locked in, flip the switch to start the brewing process. Most urns brew at a pace of 40 seconds to one minute per cup. So, if you’re brewing 60 cups, you’ll need to kickstart your urn about an hour before your event begins.
The anticipation builds as the urn does its magic. When the indicator light flicks on, or you reach the calculated brewing time, your coffee is ready to charm the taste buds of your guests. This process, from setup to brew, ensures each cup poured is as delightful as the last.
After Brew: Serving and Maintaining Temperature
After brewing, your coffee is eager to greet your guests, but there’s an art to serving it right. Immediately after brewing, your coffee is at its prime: rich, aromatic, and inviting. Serve it straightaway to capture that fresh-brewed essence. Coffee urns, akin to large thermal carafes, are designed to keep coffee hot for hours without compromising quality, thanks to their insulation and often an electric heating element that maintains the temperature. However, for the best taste, aim to serve the coffee within 2 to 3 hours after brewing.
To maintain the optimal temperature without overcooking, most urns switch to a “keep warm” setting. If your urn lacks this feature, consider transferring the coffee to insulated thermal carafes to keep it hot and flavorful for your guests.
Cleaning and Maintenance
Cleaning your coffee urn isn’t just about hygiene; it’s about preserving the soul of your coffee for every brew. Begin by disconnecting and allowing the urn to cool. Empty any leftover coffee and dismantle the parts, including the filter basket and stem.
- Rinse and Scrub: Rinse the urn with hot water to loosen any residue. Use a non-abrasive scrubber and a mild detergent to clean the inside. For the filter basket and stem, warm, soapy water does the trick.
- Descale with Vinegar: Hard water can leave mineral deposits that affect your coffee’s taste. Fill the urn with a mixture of equal parts water and white vinegar. Brew this solution, then let it sit for an hour before emptying. This step is crucial for descaling and should be done every few months or more frequently with heavy use.
- Rinse Thoroughly: After descaling, rinse the urn several times with clean water to remove any vinegar traces. Ensure the tap (if present) runs clear, signaling a clean passage.
- Dry and Reassemble: Allow all components to air dry completely before reassembling. This prevents mold and mildew buildup, ensuring your next batch of coffee is just as fresh.
FAQs
Do coffee urns need filters?
Not necessarily. While some models may require paper filters, many urns come with built-in filters. However, if you prefer a cleaner brew or your urn supports it, using a paper filter can be a good option.
How often should coffee urns be cleaned?
After every use. Regular cleaning ensures fresh taste and extends the urn’s life. For descaling to remove mineral build-up, a thorough clean every few months, depending on use and water hardness, is recommended.
Can you make tea in a coffee urn?
Absolutely! Just follow the same process as brewing coffee, but replace coffee with tea bags or loose leaf tea in a filter. Be mindful of brewing times to avoid over-steeping.
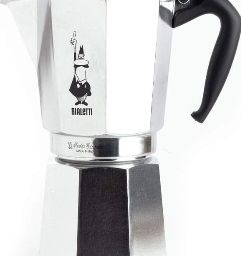
What is the difference between a coffee percolator and a coffee urn?
The main difference lies in their size and serving method. A percolator is smaller, typically used for home or small gatherings, and serves coffee through a spout. An urn is larger, suited for events, and dispenses coffee via a spigot, making it easier to serve large crowds.
Final Thoughts
Mastering the use of a coffee urn is about more than just making coffee; it’s about creating moments of warmth and connection. Following the outlined steps ensures not only the best coffee experience but also the longevity and efficiency of your urn.
Knowing how to properly use, clean, and maintain your coffee urn is invaluable, whether you’re hosting an event or simply enjoying the ritual of good coffee. Let each cup served from your urn be a testament to the care and attention you’ve invested into mastering this essential skill.