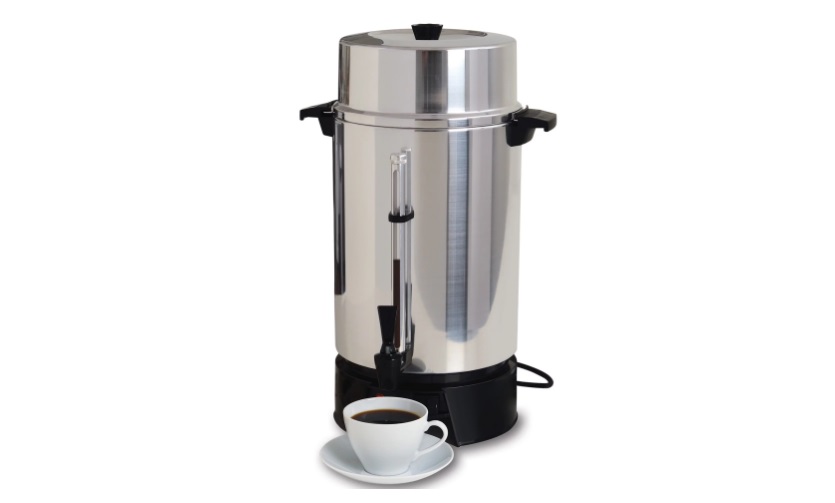
Percolator coffee makers are a classic choice for brewing large volumes of coffee, perfect for gatherings or office settings. Their unique brewing method circulates hot water through coffee grounds multiple times, creating a rich and robust flavor that many coffee enthusiasts love.
Key Takeaways
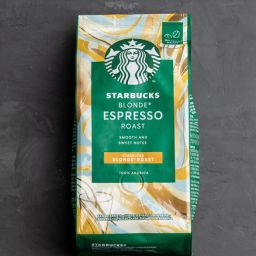
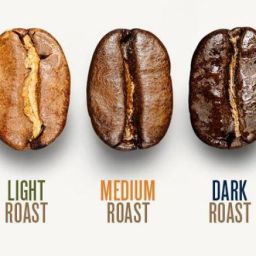
- Selecting Quality Coffee Beans: Choosing the right coffee beans is crucial for a delicious brew. Consider the bean variety, roast level, and origin. Light to medium roasts are often recommended for percolators to avoid overly bitter flavors.
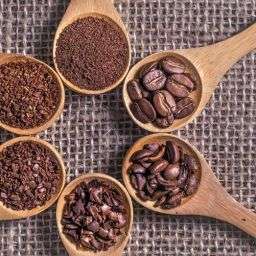
- Grinding Methods: The grind size matters significantly in percolating. A coarser grind is ideal, preventing fine grounds from seeping through the filter and ensuring even water circulation for optimal flavor extraction.
- Brewing Practices: Water temperature and brewing time are pivotal for a perfect percolator coffee. Ensure the water is just below boiling, and adjust the brewing time to taste, typically around 7-10 minutes.
- Cleaning and Maintenance: Regular cleaning is essential to maintain your percolator’s performance and coffee quality. Rinse after each use and perform a deep clean periodically to remove any coffee residue or oil buildup.
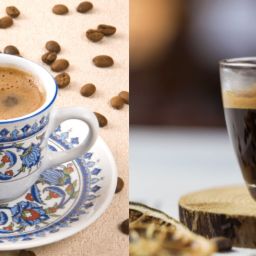
- Comparing Brewing Methods: Percolator coffee is stronger and more robust compared to drip or French press coffee. If you enjoy a bold and hearty cup, the percolator might be your go-to brewing method. For those who prefer a lighter, more nuanced flavor, drip or pour-over methods might be more suitable.
Preparing the Coffee Beans
Selecting the right coffee beans and grinding them properly is like choosing the best ingredients for your favorite recipe; it makes all the difference in the end result. Here’s how you can nail it every time:
- Choose Wisely: Your coffee’s taste starts with the beans. Opt for fresh, high-quality beans that align with your flavor preferences. Whether you love a bright, acidic note or a smooth, chocolatey undertone, there’s a bean out there for you.
- Roast Matters: Light to medium roasts work best in percolators, offering a balanced flavor without turning bitter during the brewing process.
- Grind Right: A coarse grind is your best friend for percolator brewing. It prevents grounds from slipping through the filter and ensures water circulates efficiently, extracting the perfect amount of flavor.
- Fresh is Best: Grind your beans just before brewing. Freshly ground coffee maintains its oils and aromatics, delivering a more flavorful cup.
- Consistency is Key: Aim for a uniform grind size. Irregular grinds lead to uneven extraction, where some coffee is over-extracted, and some under-extracted, muddling your brew’s flavor profile.
Setting Up the Percolator
Getting your percolator ready is like setting the stage for a great performance. Here’s a simple guide to get you started:
- Clean Slate: Ensure your percolator is clean, free from old grounds or residue, which can affect your coffee’s taste.
- Water First: Add cold, fresh water to the percolator’s reservoir. The amount of water will dictate how much coffee you’ll end up with, so measure according to your needs.
- Add Coffee: Place your coarse grounds in the percolator basket. The general rule is about one tablespoon of coffee per cup of water, but feel free to adjust to your taste.
- Assemble: Secure the basket and stem inside the percolator. Make sure everything is snug and properly placed.
- Heat Up: Place your percolator on the heat source. If it’s electric, plug it in and switch it on. For stovetop models, medium heat will do the trick.
- Wait for the Magic: Watch or listen for the percolating process to start. Once you hear that familiar perking sound or see coffee bubbling up into the knob, your brew is underway.
- Timing: Brew time can vary, but around 7-10 minutes is a good benchmark for a strong but not over-extracted cup.
- Ready, Set, Enjoy: Once brewing is complete, remove the percolator from heat. Give it a moment, then pour and savor your perfectly percolated coffee.
Brewing the Coffee
Brewing coffee in a percolator is an art that combines tradition with simplicity. Here’s how to brew a delightful pot of coffee using a percolator:
- Water-to-Coffee Ratio: The golden ratio for percolators is typically one tablespoon of coffee for every 8 ounces of water. However, feel free to tweak this ratio based on your preference for strength.
- Fill It Up: Start by filling the percolator with cold, fresh water up to the desired level. Remember, the amount of water determines how much coffee you’ll end up with.
- Add Your Coffee: Place the ground coffee into the percolator basket. Ensure the grounds are coarse to prevent them from passing through the filter and into your brew.
- Assemble and Heat: Once you’ve added the coffee, assemble the percolator and place it on your heat source. If it’s electric, turn it on; if it’s stovetop, set it to a medium heat.
- Watch the Brew: The percolating process should start soon. Look for the bubbling in the glass knob or listen for the percolating sound. This is when the magic happens.
- Brewing Time: Let your coffee brew for about 7 to 10 minutes. Less time will give you a lighter brew, while more time will intensify the flavor.
- Finish and Serve: Once your coffee has reached its perfect brew strength, remove the percolator from the heat. Give it a minute to settle, then pour and enjoy.
Serving and Enjoying
Once your coffee is brewed to perfection, serving and enjoying it is the next delightful step. Here’s how to make the most of your percolator coffee experience:
- Serve Immediately: Coffee tastes best when it’s fresh. Serve it as soon as it’s ready to capture the full range of flavors and aromas.
- Consider the Cup: The right cup can enhance your coffee experience. Warm your cups before serving to keep your coffee at an ideal temperature longer.
- Customize Your Cup: Everyone has their unique coffee preference. Offer cream, sugar, and other condiments so each person can tailor their cup to their liking.
- Pair with a Treat: Coffee and a small snack is a classic pairing. Whether it’s a piece of chocolate, a biscuit, or a slice of cake, find what delights your palate.
- Savor the Moment: Take a moment to enjoy the aroma before you sip. Then, savor the taste, letting the coffee’s flavors unfold.
Cleaning and Maintenance
After each use, disassemble the percolator and wash all parts with warm soapy water. Rinse thoroughly to ensure no soap residue remains. Over time, coffee oils and residue can build up, affecting the taste of your brew. Every few weeks, fill the percolator with a mixture of equal parts water and vinegar. Let it brew halfway, then switch off and let it sit for an hour. Finish the brewing cycle, then run a couple of water-only cycles to rinse.
Regularly inspect your percolator for any signs of wear or damage, especially on the seals and the basket. Replace any parts that seem worn out to ensure a perfect brew and to prevent any future leaks or other issues.
After cleaning and drying, reassemble the percolator and store it in a dry place. This ensures it’s ready to go when you next crave a delicious cup of coffee.
Troubleshooting and Common Pitfalls
Even with the best care, you might encounter some issues while using your percolator. Here are common pitfalls and how to solve them:
Bitter Coffee: If your coffee tastes bitter, it might be over-extracted. Reduce the brewing time or lower the heat to prevent this.
Weak Coffee: On the flip side, if the coffee is too weak, check if you’re using the right coffee-to-water ratio or if the brewing time is too short.
Coffee Grounds in Your Cup: A common issue is finding grounds in your cup. Ensure you’re using a coarse grind and that the percolator basket is correctly assembled and free from damage.
FAQs
What’s the ideal coffee-to-water ratio for a percolator?
The recommended ratio is about 1 tablespoon of coffee per 8 ounces of water. Adjust to your preference for a stronger or milder brew.
What’s the best coffee grind for percolators?
A coarse grind is ideal for percolators to prevent grounds from slipping through and to ensure even water circulation for optimal flavor extraction.
Can I use regular ground coffee in a percolator?
While you can, it’s best to use a coarser grind to avoid grounds in your coffee and to achieve the best flavor.
How long should I let my coffee percolate?
Typically, 7-10 minutes is ideal, but you can adjust based on how strong you like your coffee.
Final Thoughts
Using a large percolator coffee maker can elevate your coffee experience, offering rich and robust flavors. Remember, the quality of your beans, the grind size, and the brewing time are pivotal in crafting the perfect cup. Regular cleaning and maintenance are also crucial to keep your percolator in excellent condition. Whether you’re catering to a crowd or simply enjoying your morning ritual, mastering the art of percolator brewing can provide a satisfying and flavorful coffee experience.